Industrial motherboards are the backbone of many automation and control systems in the smart manufacturing, security/surveillance, smart retail, smart city, and transportation sectors. When it comes time to replace an ISA (Industry Standard Architecture) industrial motherboard, it's essential to follow a systematic approach to ensure a smooth transition and minimal downtime. Here's a step-by-step guide to replacing an ISA industrial motherboard, with insights from leading manufacturers like Fodenn.
1. Assess the Situation
Before you begin to replace, evaluate the current industrial motherboard's condition and determine the need for replacement. Consider factors like age, performance issues, or lack of support for newer technologies.
2. Choose the Right Replacement
Select a replacement embedded motherboard that matches or exceeds the specifications of the existing one. Fodenn, a renowned industrial manufacturer and professional solution provider, offers a range of industrial motherboards that are compatible with various industrial applications. Ensure the new industrial control motherboard supports the same or better performance, has the necessary I/O ports, low power, and is compatible with the existing system architecture.
3. Backup Data and Configuration
Always back up system data and configuration settings before starting the industrial motherboard replacement process. This step is crucial for ensuring that you can restore the system to its previous state after the new ISA motherboard is installed.
4. Power Down the System
Ensure that the system is powered off and disconnected from any power source to avoid electrical hazards and damage to the components.
5. Remove the Old Mainboard
Carefully remove the old ISA motherboard from the chassis. This process may involve unscrewing and disconnecting cables. Keep track of all screws and components for reassembly.
6. Install the New ITX/ATX Motherboard
Install the new industrial embedded motherboard by aligning it with the mounting holes and securing it with screws. Connect all necessary cables, including power, data, and I/O connections.
7. Reapply Configuration and Updates
Restore the backed-up data and configuration settings to the new control motherboard. Update the BIOS and drivers as needed to ensure compatibility with the new hardware.
8. Test the System
Power on the system and test all functions to ensure that everything is working correctly. This includes testing all I/O ports, communication interfaces, and any integrated peripherals.
9. Monitor the System
After the replacement, closely monitor the system for a few days to ensure stability and performance. Look out for any signs of incompatibility or issues that may have been overlooked during the installation.
10. Document the Changes
Update your system documentation to reflect the changes made during the replacement process. This documentation is vital for future maintenance and troubleshooting.
Choosing Fodenn Manufacturer for High-Quality Industrial Motherboards
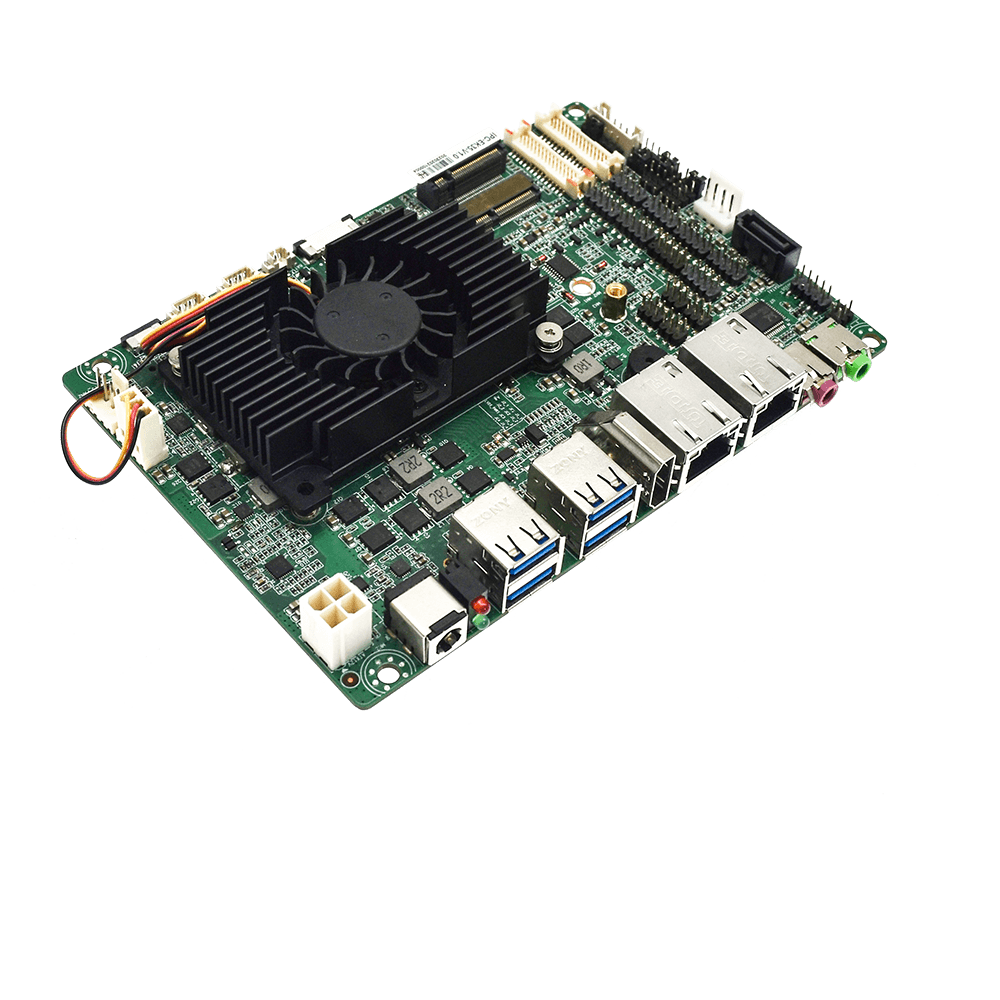
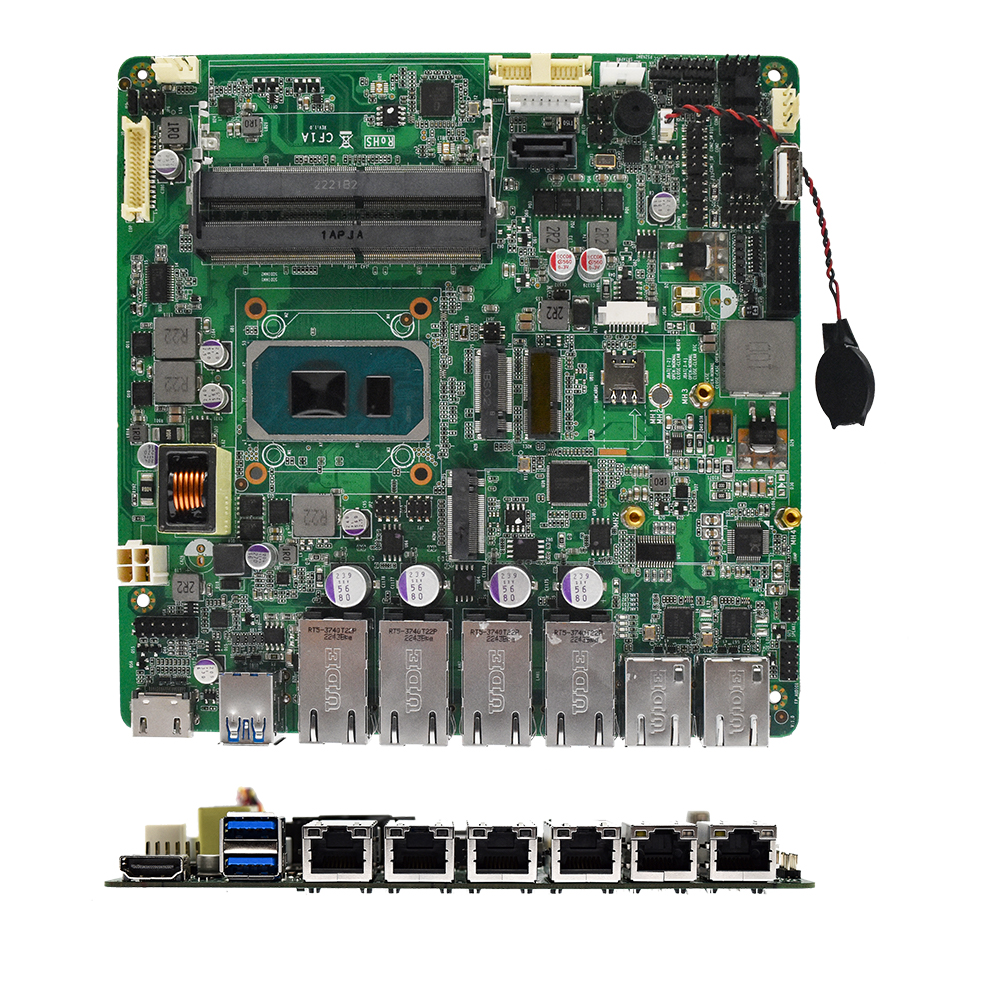
Fodenn, a leading manufacturer in the industry, offers a variety of industrial motherboards designed for durability and high-performance computing in industrial environments. Their products, like the IPC-EK35 and IPC-TGL35, are known for their low power consumption, rich I/O interfaces, and all-in-one solutions that cater to the needs of smart industries and cities.
By following this guide and choosing the right industrial motherboard from a reputable manufacturer like Fodenn, you can ensure a seamless transition and continued reliability in your industrial applications.